Getting Started
Get up and running with SonicJS in just a few minutes!
Prerequisites
You will need a free Cloudflare account: https://dash.cloudflare.com/sign-up
Installation Steps
1. Clone the Repository
git clone https://github.com/lane711/sonicjs.git
cd sonicjs
npm install
2. Create Cloudflare Configuration
cp wrangler.example.toml wrangler.toml
3. Create Cloudflare D1 Database
npx wrangler d1 create sonicjs
- Login to Cloudflare when prompted
- Copy the generated database ID from the output
4. Update Configuration
Update your wrangler.toml file with the database ID from step 3:
[[d1_databases]]
binding = "D1"
database_name = "sonicjs"
database_id = "YOUR_DATABASE_ID_HERE"
Replace YOUR_DATABASE_ID_HERE with the actual database ID from the previous step.
5. Apply Database Schema
npm run up
6. Start Development Server
npm run dev
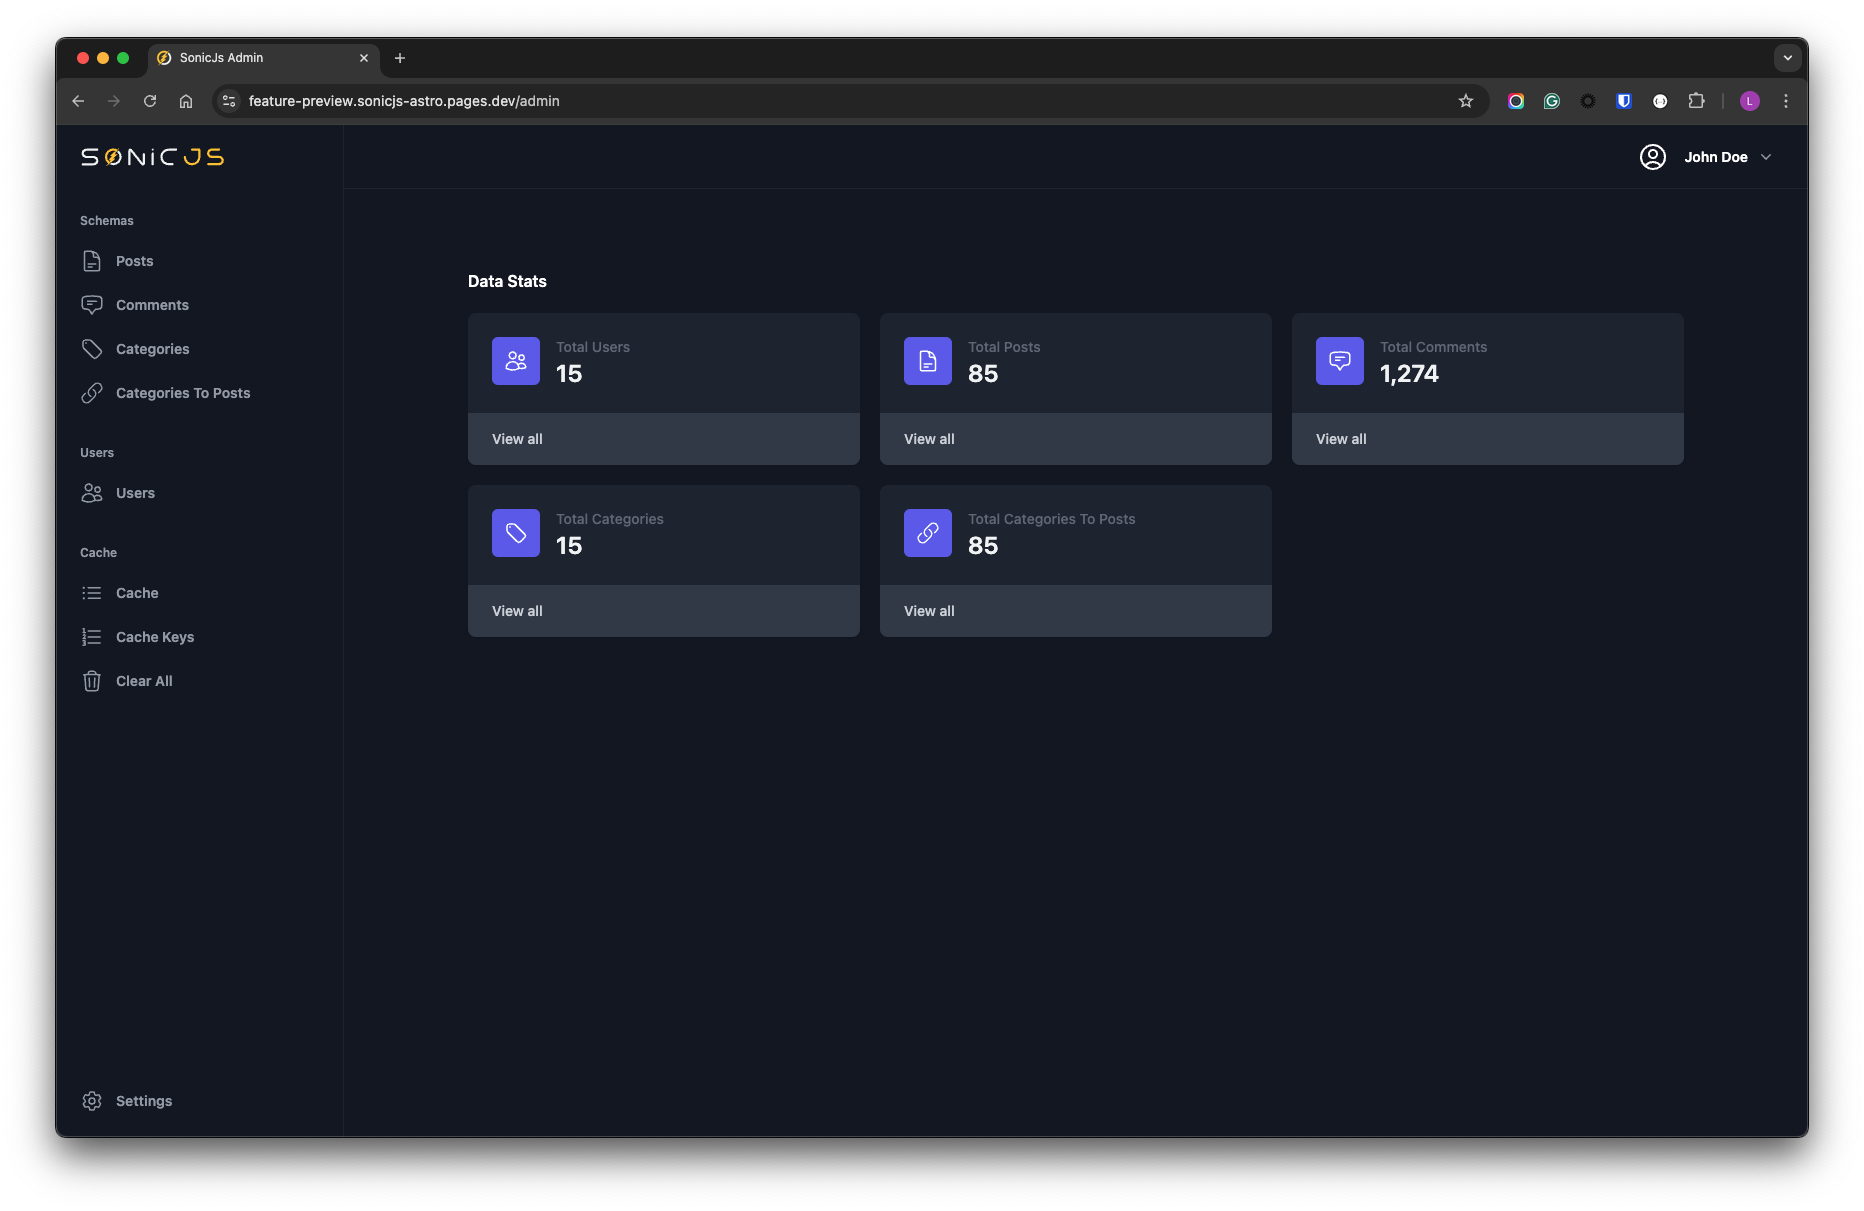
7. Access Admin UI
Open http://localhost:4321 in your browser to access the SonicJS admin interface.

Astro
SonicJS is built on Astro, a modern static site generator optimized for performance and minimal JavaScript. Astro is designed to deliver fast, secure, and scalable websites, offering features like partial hydration, automatic image optimization, and seamless integration with popular frameworks such as React, Vue, and Svelte.
By leveraging Astro, SonicJS ensures that the admin UI is easy to manage and update, while the front end remains highly performant and secure.
Additionally, developers have the flexibility to build their entire front end directly on top of SonicJS, allowing for a unified codebase to power the entire application.
Need Help?
Please don't hesitate to:
-
Open a Github issue: https://github.com/lane711/sonicjs/issues
-
Join us on Discord: https://discord.gg/8bMy6bv3sZ
Next Steps
The next thing you will want to do is define your database table(s) and read up on SonicJs's built in caching and persistence layers.